


Home base for your Delta flashlight
Presentation case, travel box, you decide...
Six months and a dozen prototypes in the making. It's just a case, but it's also not just a case. You know I never do things half way right? I've had this idea for years, but a machined case would cost half as much as a light. Enter the Markforged 3D printer.
The inspiration
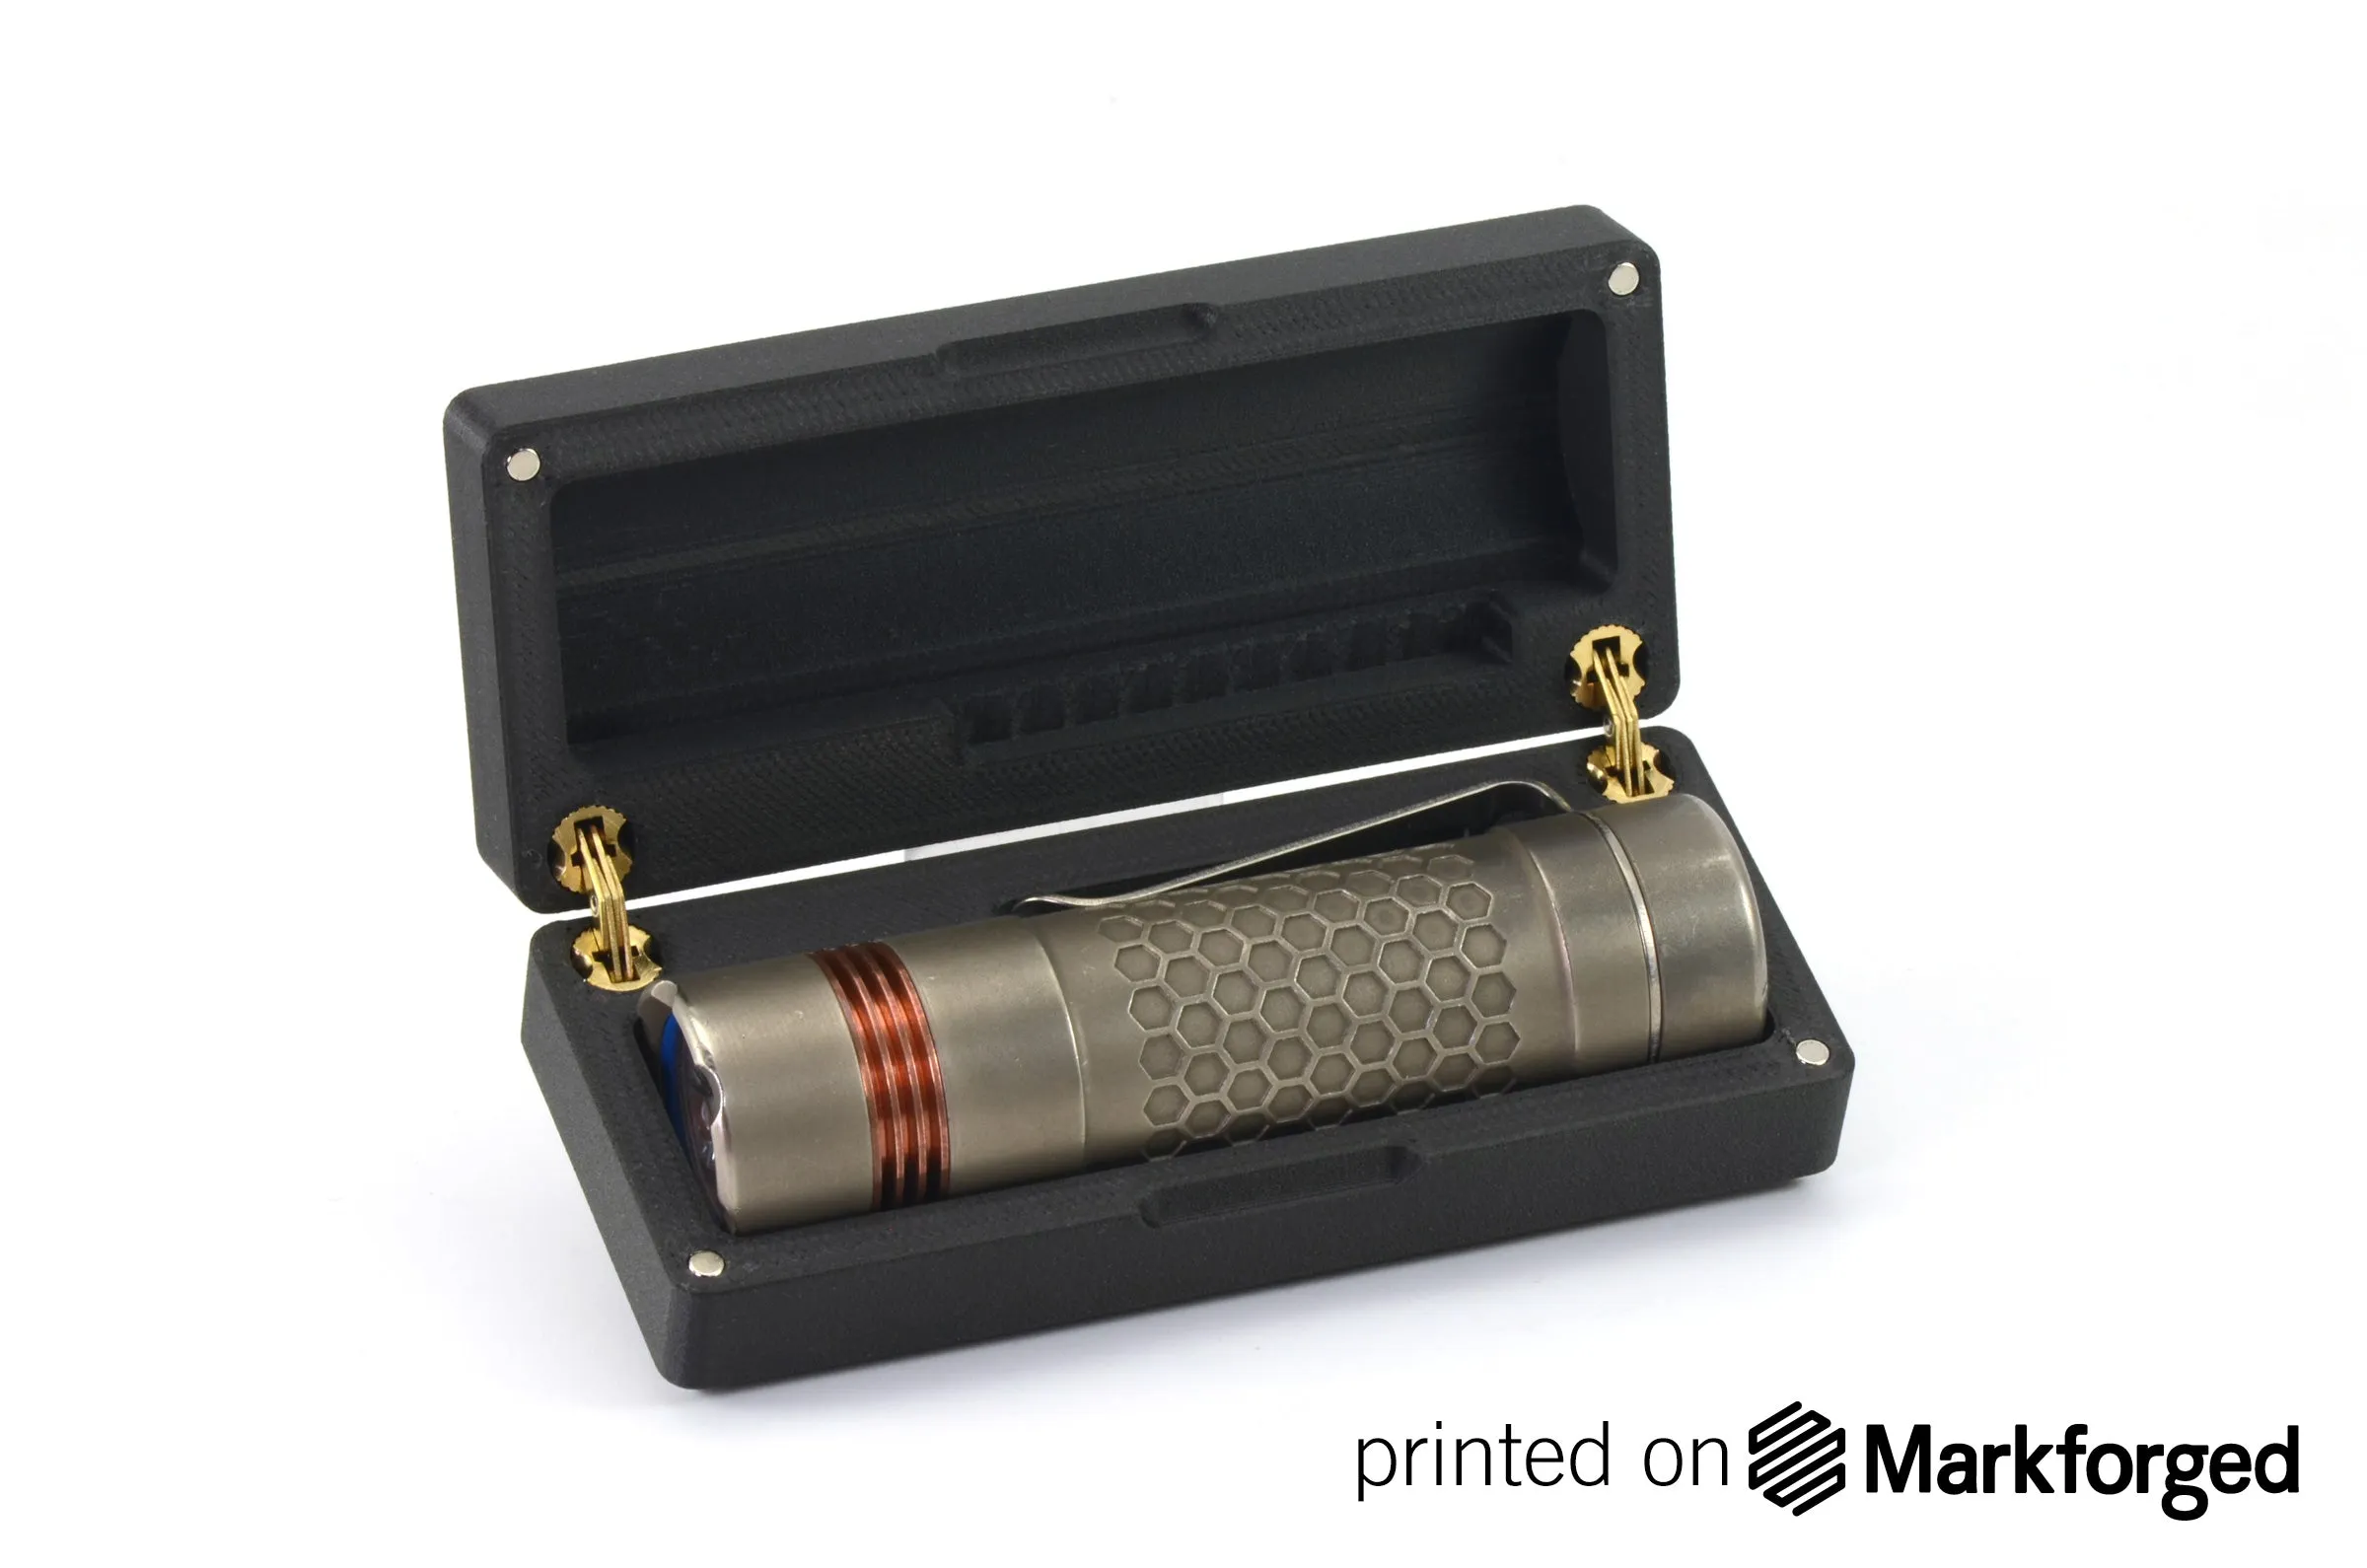
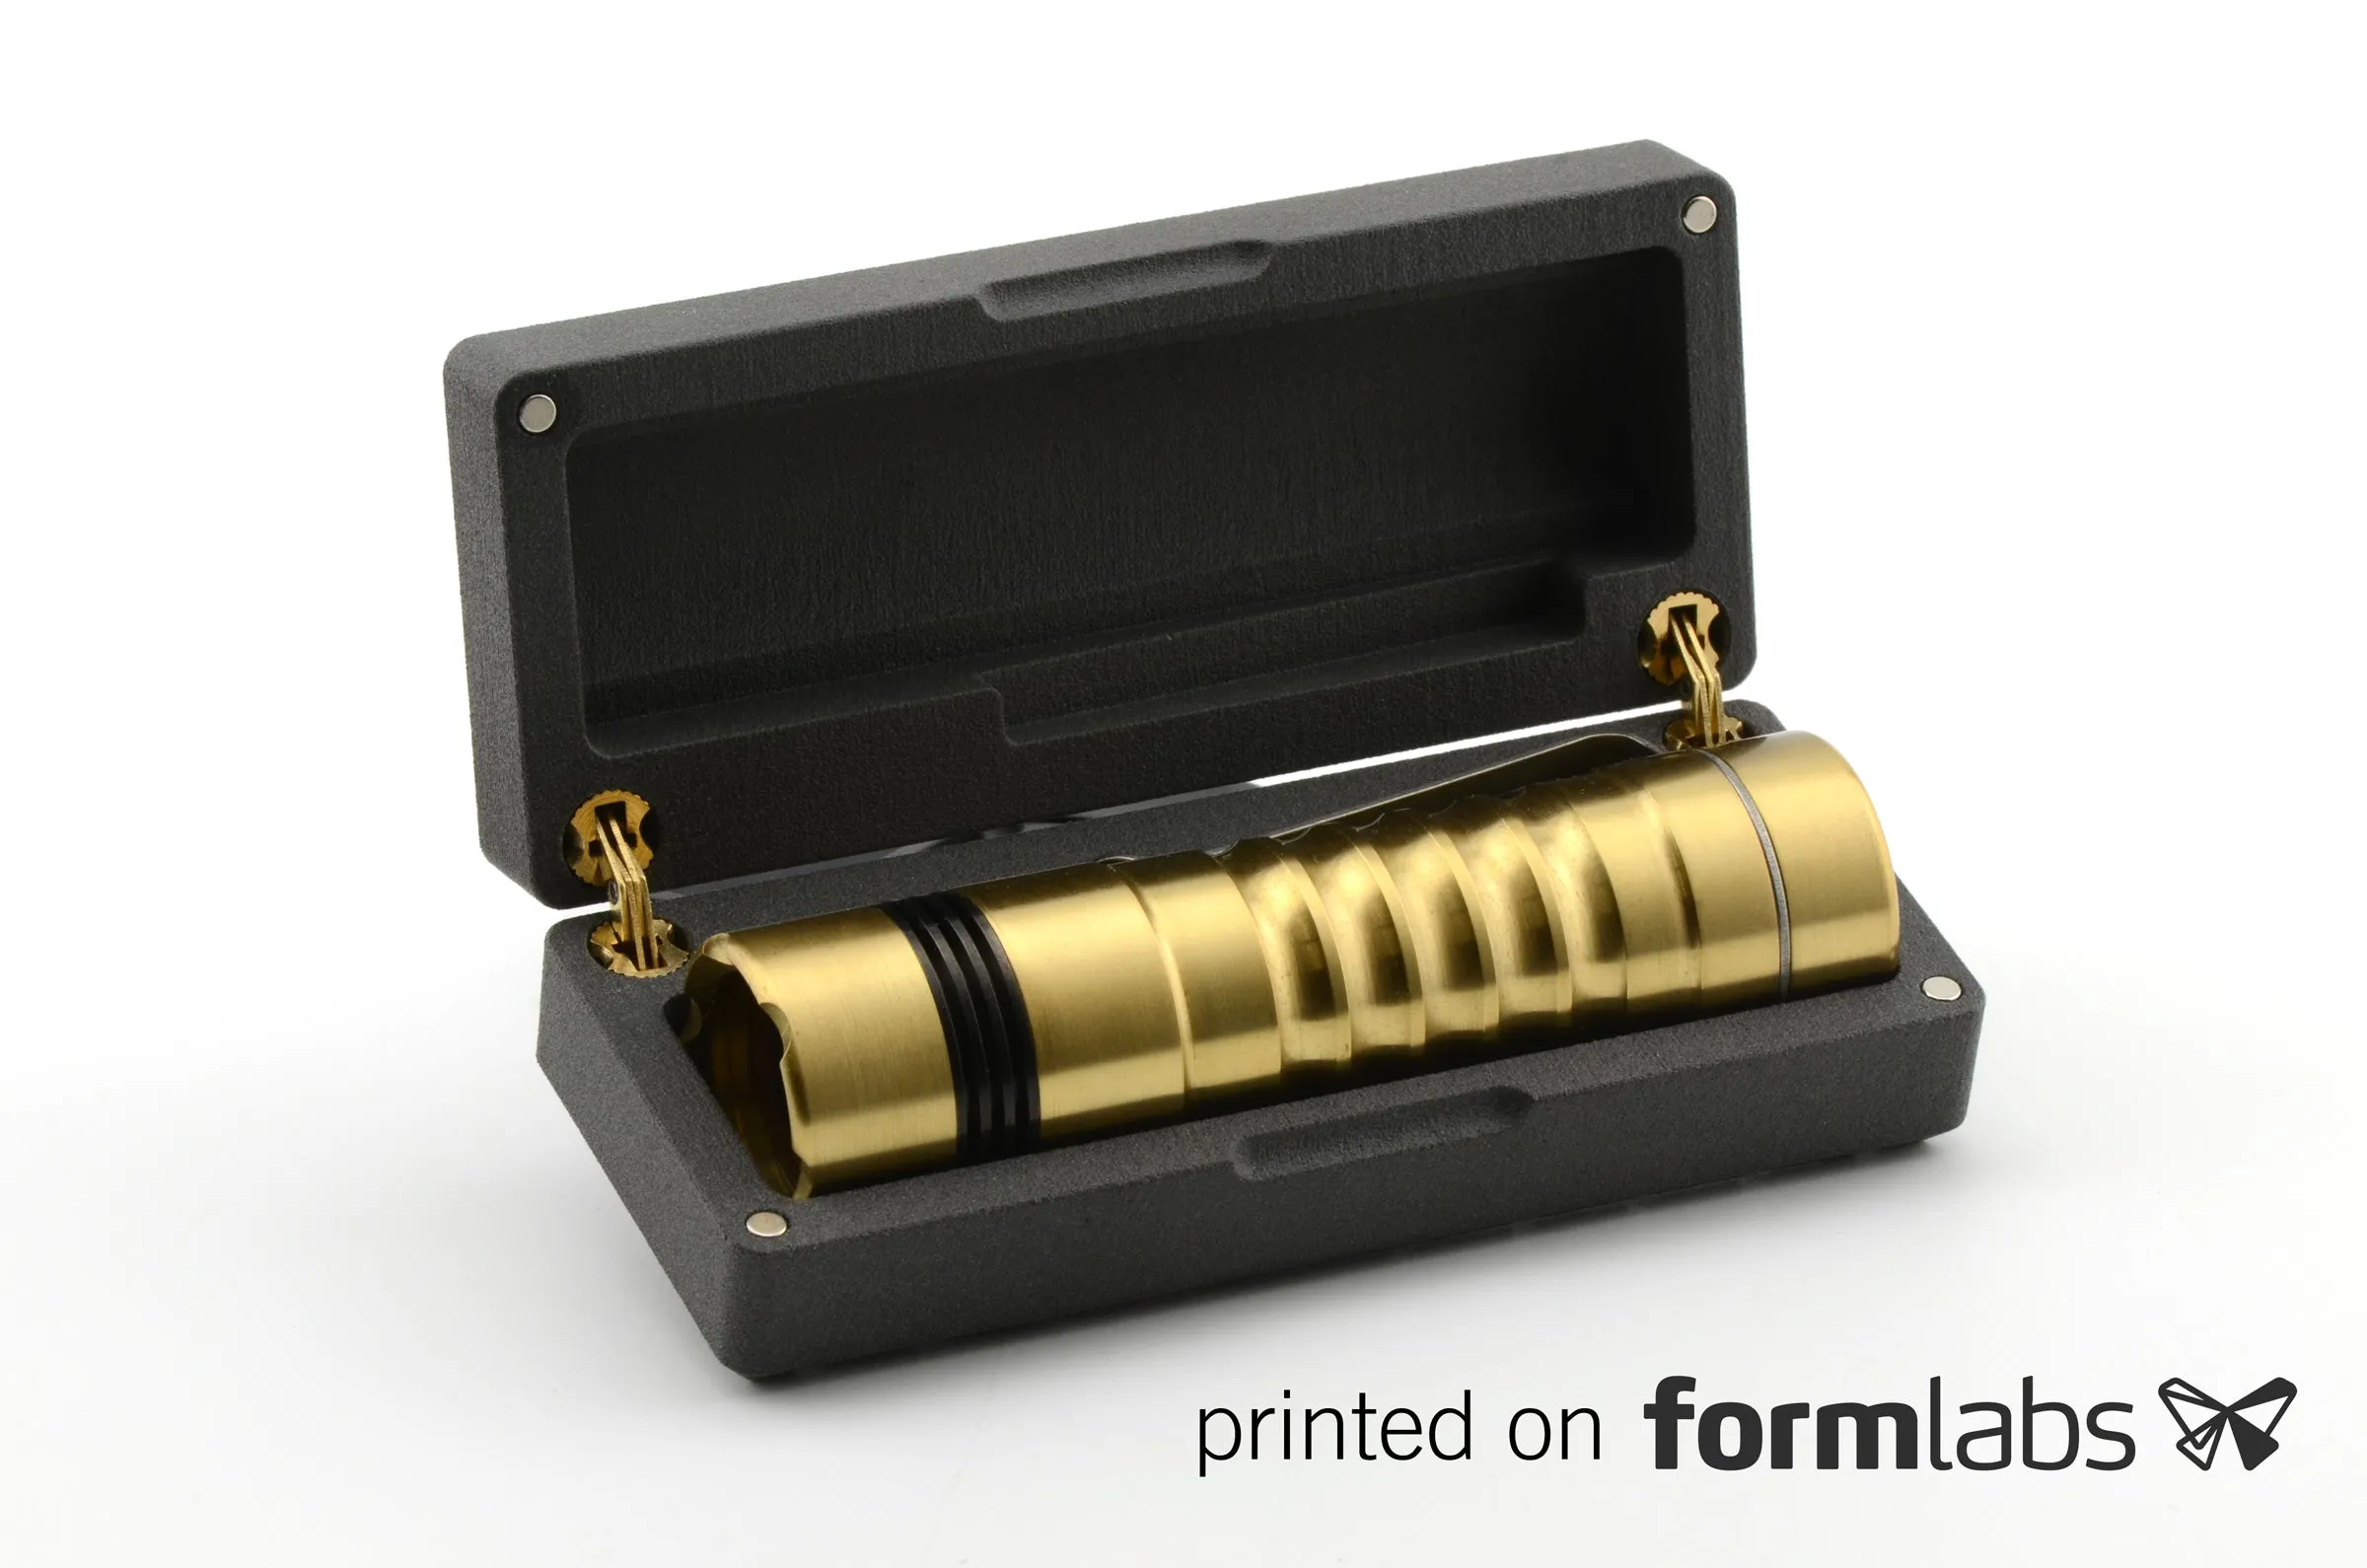
According to TSA regulations, anything with a lithium battery must be carried in the cabin and not checked. I wanted to be able to throw a Delta in my carry-on without worrying about damage to the light, or the light damaging other items. It also protects the tailcap button from accidental activation. Nothing worse than needing light and having a dead battery :)
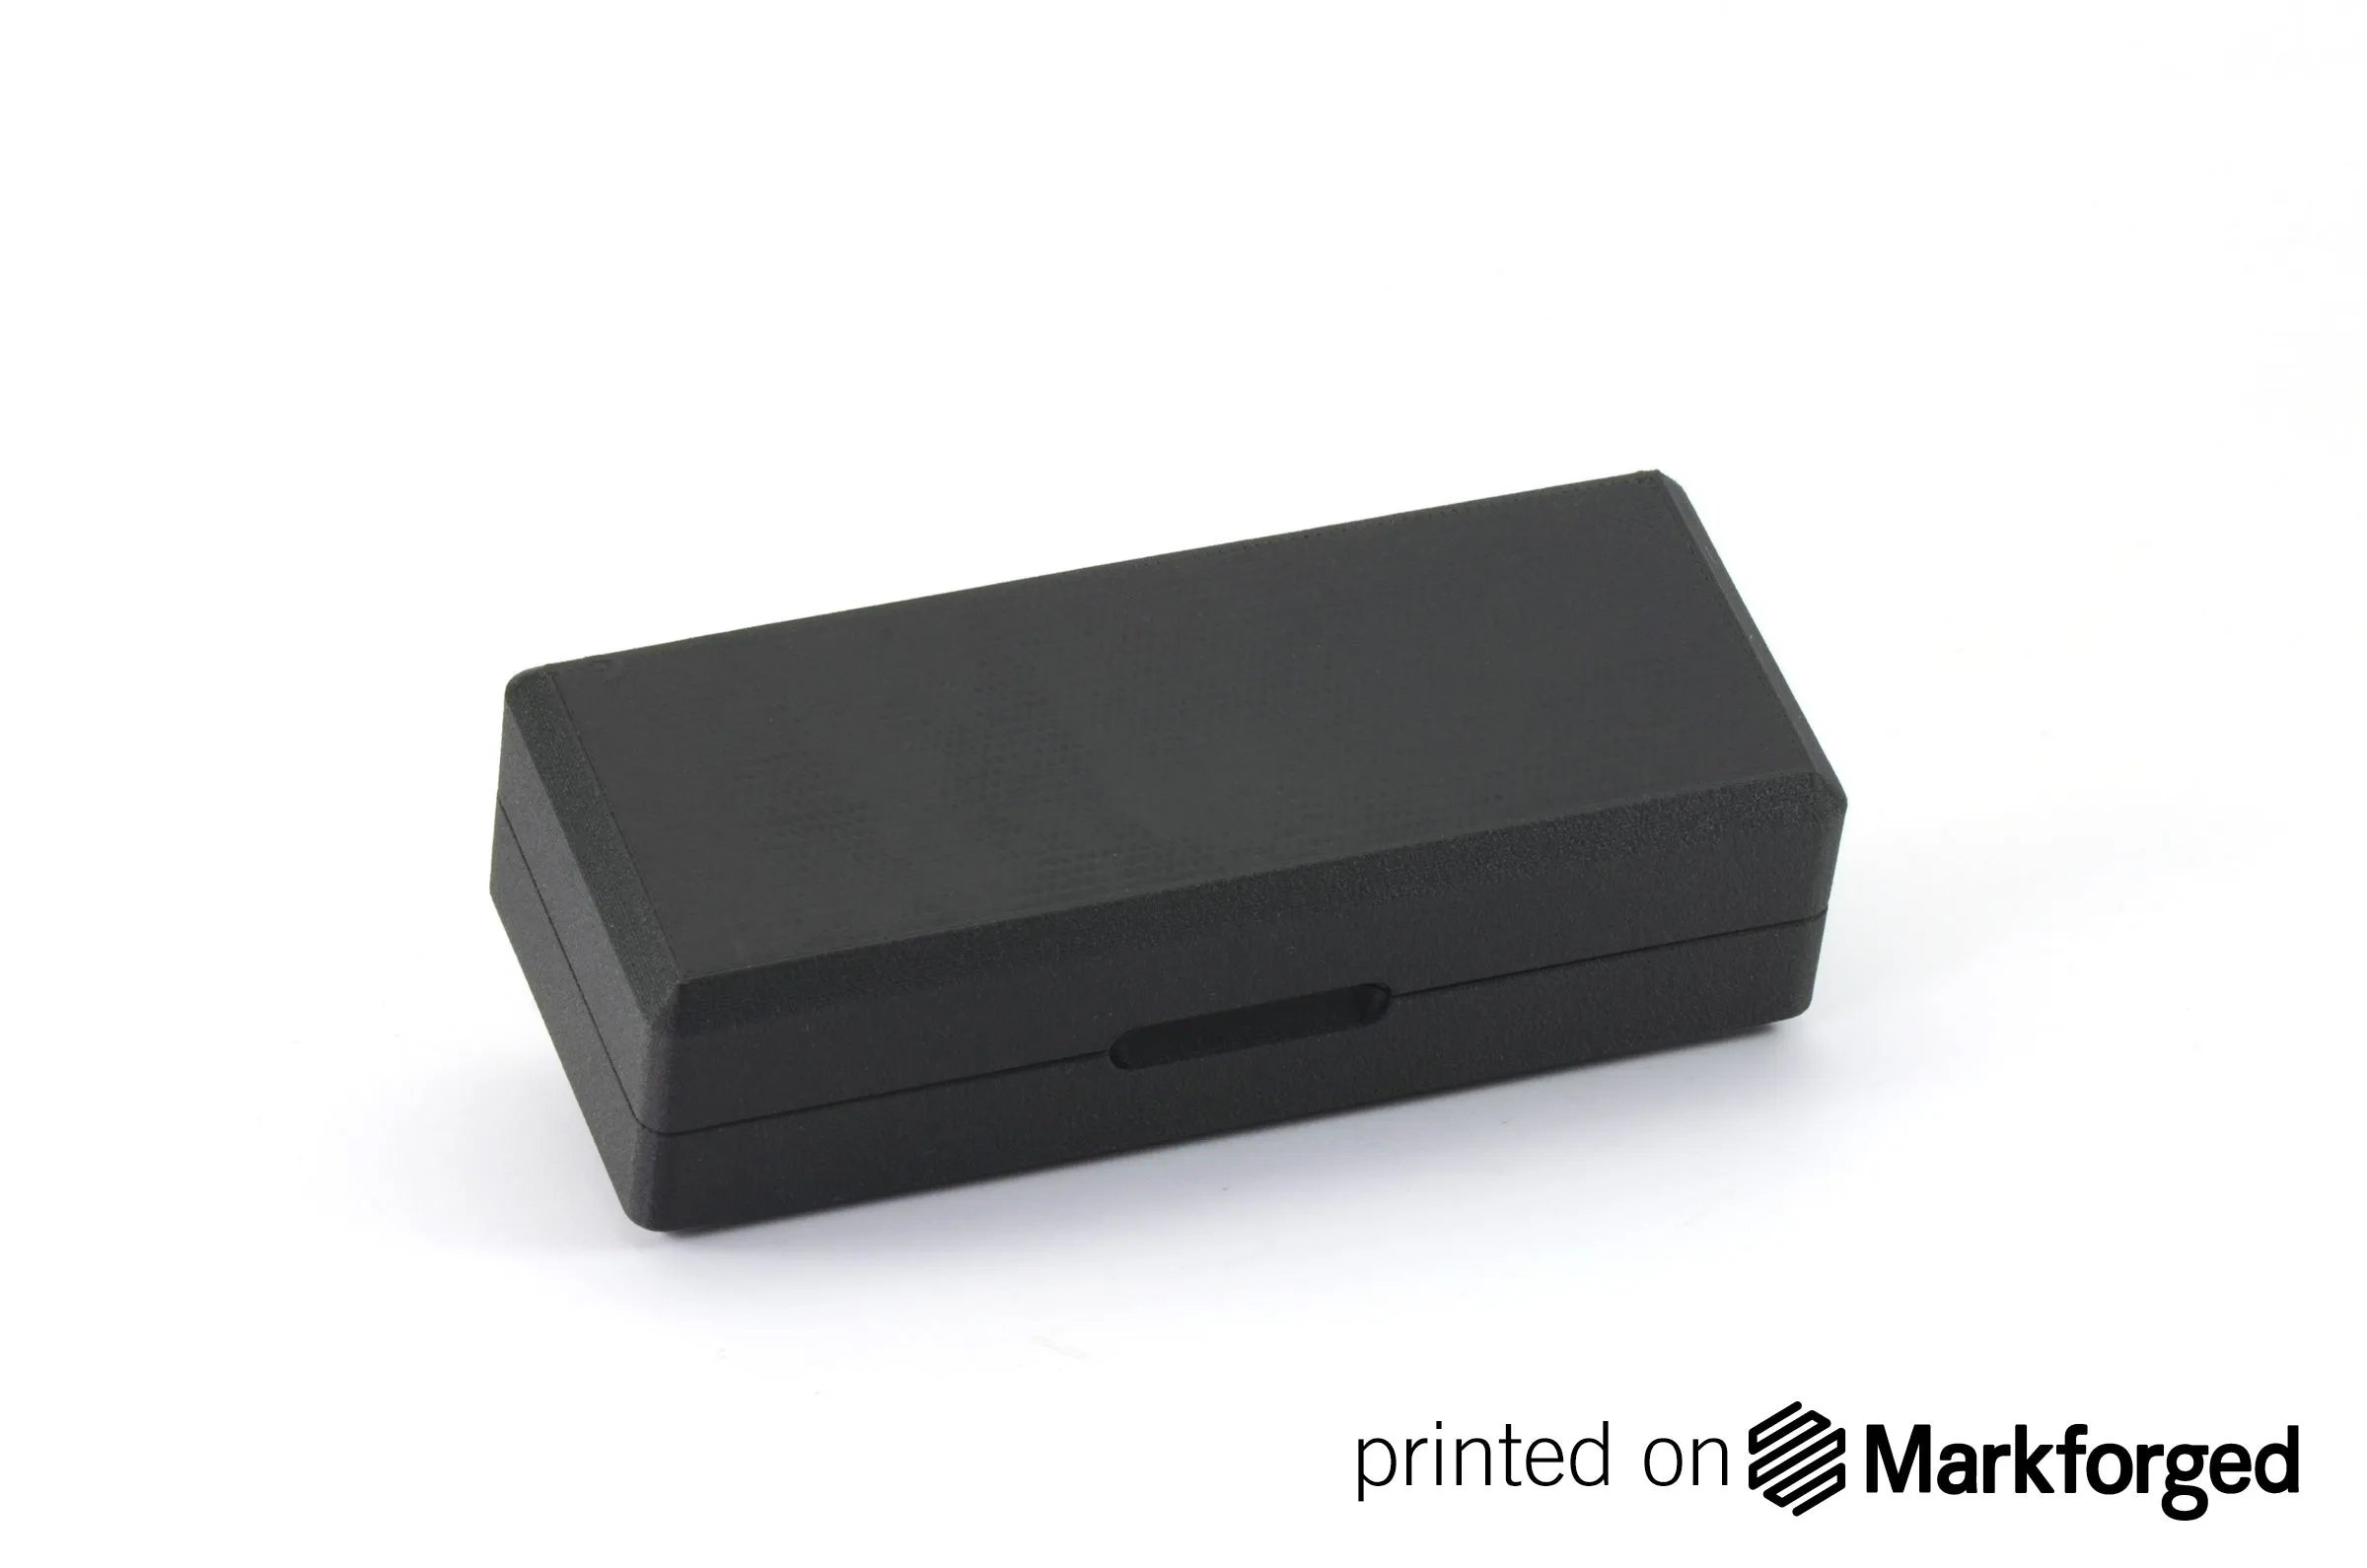
These are printed right here in the shop on our Markforged MKII printer from their proprietary "Onyx" filament (carbon-fiber reinforced nylon).
features
- Solid brass barrel hinges from SOSS allow the top to open 170 degrees. Lubricated with Nano-Oil during assembly, they are a feat of engineering in their own right.
- The lid is held closed with 4 neodymium magnets pressed into the 4 corners of the box.
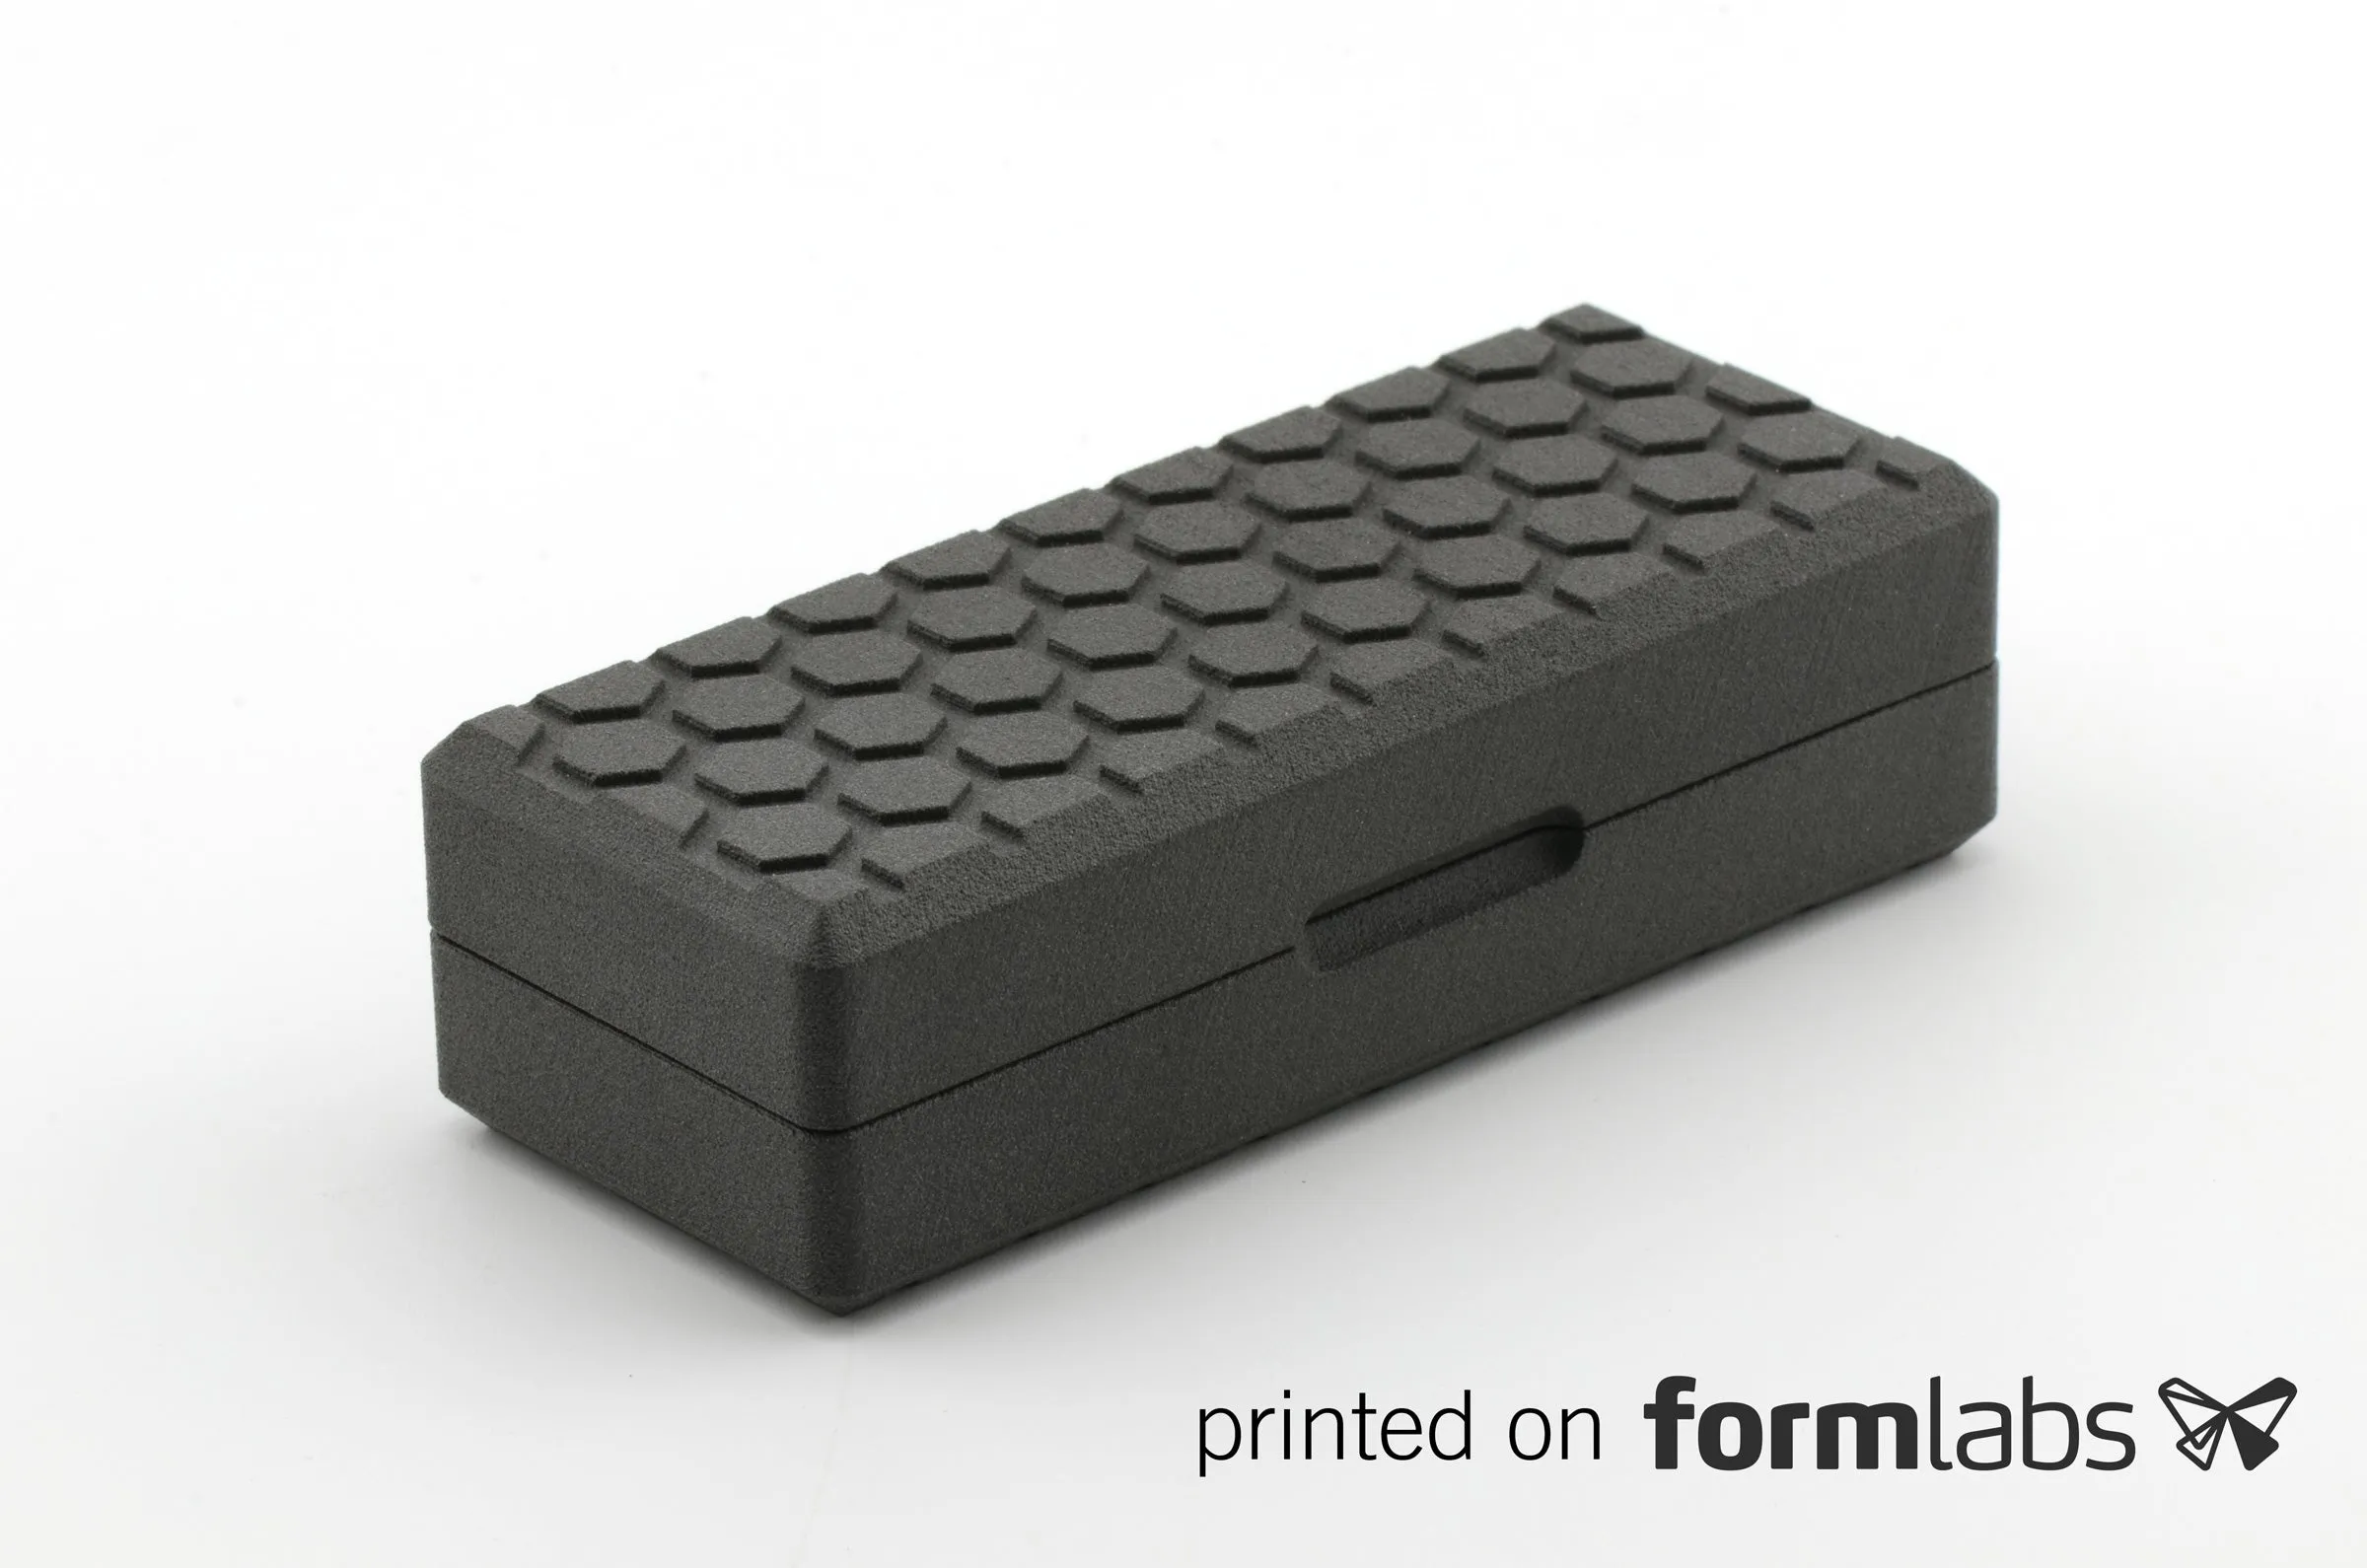
- Thumb notch for easy opening. No top or bottom!
- 3D printed: both parts take about 8 hours to print. The material is very expensive (carbon-fiber reinforced nylon) but the results are amazing!
the new, new in manufacturing: integrated workflow (nerd alert)
My favorite thing about this case is that it represents the absolute state of the art in modern design and manufacturing technology workflow. I use for all of our CAD design these days. I opened the 3D flashlight model and "built the box around the light," using the flashlight CAD data to drive the dimensions of the box. No need to take any physical measurements of the light in order to determine the geometry of the box.
The lid is a mirror image of the bottom, and I was able to automatically "mirror" the part so any design changes made to the bottom portion are automatically updated to the lid. Basically you can get two parts out of a single design, and not have to remember to update every change on both parts. Sounds small, but in reality is a huge win.
Here comes the good part. Normally I'd machine these components, but that requires hours of CAM programming to pick all of the cutting tools, set the tool paths, figure out how to hold the part inside the CNC, find all the cutting tools, buy some if I don't right ones, set those tools into tool holders, measure all of them after installation...and we haven't even cut any metal yet.
With 3D printing I went straight from "art" in Fusion 360, to "part" on the Markforged printer. Literally export the model as a 3D printer file, load that file into the printer program...and print the part. It did take about a dozen prints to get everything perfect (my fault, not the printer's) but the design/development process was significantly shorter (and a fraction of the cost) of doing it the "old" way.


")
")


